

At Microsoft Ignite November 2021, 52 generally available sensitive information types (SITs) were added to the existing list of SITs. (Microsoft Information Protection: Announcing Enhanced Automatic Classification Capabilities!)
Included in these were 3 Bundled Entities built to look for full names, physical addresses, and medical terms and conditions. These 3 bundled entities are further separated out by country and industry into Named Entities to allow for country and industry specific regulatory and compliance scenarios.
With privacy legislation being top-of-mind for organizations these days, I thought a practical use-case for these entities was to use them to detect and protect PII content with sensitivity labels.
PII (Personally Identifiable Information) is information that, when used alone or with other relevant data, can identify an individual. Examples include: Full name, home address, email address, social security number, passport number, credit card numbers, date of birth, telephone number, IP address, etc.
I’ll leverage the definition of the All Full Names and All Physical Addresses bundled entities as auto-apply conditions to identify some of the PII. Please know there is more PII than what these 2 bundled entities will detect so you should add additional sensitive information types targeting those pieces of PII in the auto-label condition as well.
Let’s dig in…
For demo purposes, I’ll create a sensitivity label called Demo Label and include an auto-labeling condition to recommend the sensitivity label with these conditions and message:

I’ll test with a document I know has some full names and physical addresses in it to see what happens. Whether I’m in the Word Online app or the Word Office app, I receive the sensitivity label recommendation based on detection of a full name and physical address as depicted in the 2 images below.
Note: in the Word app image, I clicked the Show sensitive content button to see the entities it has detected in the content from within the Editor fly-out pane.
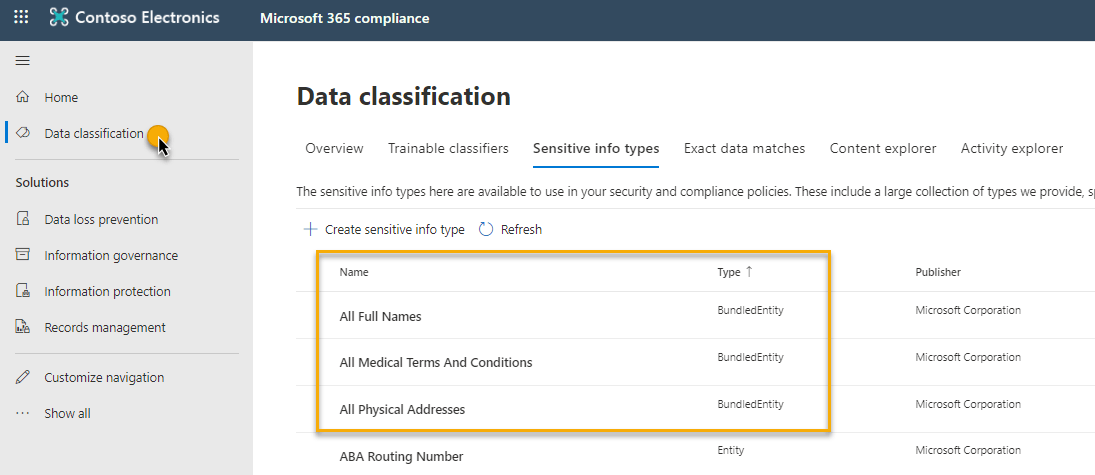
You can gain insight on where these bundled/named entities are detected across Exchange, OneDrive, and SharePoint from Content Explorer inside the Data Classification feature (image). Use this information to inform your retention and protection policy configurations across your tenant:

Other ways to use these named entities:
- test your content against these named entities to see if your content will match by selecting the named entity within the Sensitive Information Types tab in the Data Classification feature from the Compliance Center
- include them as an auto-labeling condition to apply a sensitivity label to SharePoint and OneDrive content at rest (and Exchange email in transit)
- use them in a Data Loss Prevention policy ( a great way to ensure you’re not leaking PII)
- use them to auto-apply a retention label (a great way to retain/delete PII so you’re not over-retaining)
- to address country-specific or industry-specific regulatory requirements, include the specific named entity, for example Australia Physical Addresses, for your condition rather than the full bundled entity
My takeaway? Leveraging these named entities is a relatively easy way to protect PII content across your tenant. Have you tried them yet?
Thanks for reading.
-JCK